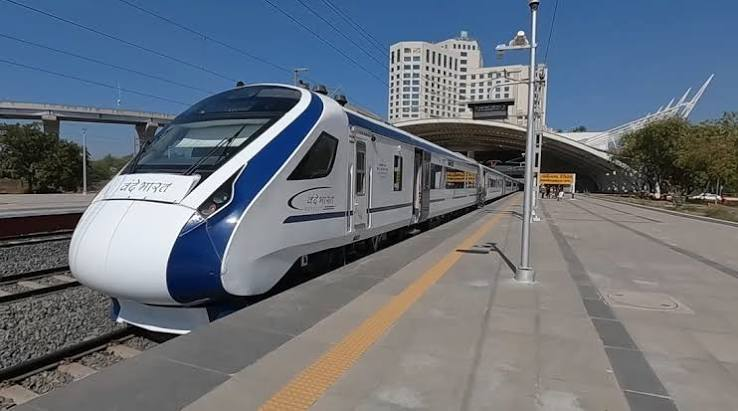
Your first train journey in India can feel overwhelming: the crowds, the codes, the sheer scale of it. It need not be. Indian Railways moves around 21 million people a day across more than 7,300 stations, and the system, once you understand a few basics, is one of the friendliest ways to see the country. This is the playbook I wish someone had handed me before my very first trip.
Booking your ticket, step by step
Most train journeys are decided long before you reach the platform. For me, that usually starts with an online irctc ticket booking through the official platform, which lets you reserve from home rather than queue at a counter.
The basic flow is simple:
- Enter your stations and date, then search for trains.
- Choose a class that suits your budget and journey length.
- Pick a train with a sensible arrival time.
- Fill in passenger details and select a berth preference.
- Pay and receive confirmation, usually by SMS and email.
The reservation window opens 60 days before travel, and popular trains fill fast, so book early once your plans are set.
Understanding the classes
The string of letters can confuse first-timers. Here is the plain-English version.
| Class | Code | What it is |
| Sleeper | SL | Non-AC berths, open windows, budget-friendly |
| AC 3-Tier | 3A | Air-conditioned, free bedding, good value |
| AC 2-Tier | 2A | More space and privacy, curtained berths |
| AC First Class | 1A | Private cabins, premium comfort |
| Chair Car | CC | Air-conditioned seats for daytime trips |
| Second Sitting | 2S | Non-AC seats for short, cheap journeys |
For a first overnight trip, 3A is a comfortable, secure middle ground. For a short daytime hop, Chair Car or Second Sitting does the job cheaply.
Reading the platform and coach board
Stations can look chaotic, but the information you need is all there. Before the train arrives, find the coach position display or chart, which shows where your coach will stop along the platform. Standing in roughly the right spot saves a frantic dash when the train pulls in.
A few first-timer pointers:
- Note your coach and berth number from your ticket.
- Match your coach to the position chart so you wait in the right place.
- Listen for announcements, which are usually in more than one language.
- Carry valid ID, which you must show on board.
Checking your train on the day
A small habit makes the whole day smoother: a live train running status check before you leave for the station. Indian trains can run late, and the status tells you the real arrival time so you neither rush nor wait needlessly. For a first-timer, that one check removes much of the guesswork and anxiety.
Check the night before for a rough sense, again a couple of hours before you leave, and once more as you head out the door.
Onboard etiquette and comfort
Knowing the small customs helps you feel at home quickly.
- Lower berths convert to shared seating by day, so expect company until night.
- Keep luggage under the lower berth or on the overhead rack, secured with a chain.
- Chai and snack sellers pass through regularly; carry small change.
- Be considerate with lights and volume at night in shared coaches.
- Use the side latches and curtains in AC classes for a little privacy.
First-timer mistakes to avoid
Most early errors are easy to sidestep once you know them.
- Booking too late and ending up on a long waitlist.
- Misjudging the heat by choosing Sleeper in peak summer.
- Arriving at the last minute and missing the coach position chart.
- Forgetting ID, which is required to travel.
- Overpacking, which makes every station and berth a struggle.
Avoid these five and your first journey will feel far smoother than you expected.
Letting the journey be part of the trip
Finally, a gentle reminder: the train is not just transport, it is part of the experience. The shared meals, the passing landscapes, the easy conversations with strangers — these are often what first-timers remember most fondly. Once the initial nerves pass, most people discover that Indian train travel is something they come to love rather than merely endure.
Start with a shorter journey if you are unsure, follow this playbook, and you will step off your first train already planning the next.
Decoding the ticket and its codes
A first train ticket can look like a puzzle of abbreviations. A quick translation removes the mystery.
| Code | Meaning |
| PNR | Your 10-digit booking reference |
| CNF | Confirmed berth |
| RAC | Boarding allowed, shared side berth |
| WL | Waitlist; may not be allowed to board |
| SL / 3A / 2A | Sleeper / AC 3-Tier / AC 2-Tier |
Your ticket shows the train number, coach, berth, boarding point and status. Once you can read those at a glance, the rest of the system falls into place. If your status is not confirmed, it simply means you are in a queue that usually moves as others cancel.
What to pack for your first journey
The right small kit makes a first journey comfortable rather than stressful:
- Valid photo ID, which you must carry to travel.
- A power bank and cable for the often-busy sockets.
- Water and a few snacks, more than you think you need.
- A light sheet and pillow if you have chosen Sleeper in cooler months.
- A chain lock to secure luggage to the berth frame.
- Hand sanitiser and wet wipes for shared spaces.
Pack it all in one manageable bag. Overpacking is the most common first-timer mistake, and the easiest to avoid.
Settling in and enjoying the ride
Once you are aboard with your kit stowed and your berth found, the hardest part is over. Within an hour the rhythm of the train, the passing scenery and the easy company of a shared coach will likely have you wondering why you were ever nervous. Most first-timers step off their debut journey already comfortable with the system and many step off as converts, planning the next trip before they have even left the platform.
Your first booking: a quick worked example
Imagine you want to travel between two cities two months from now. You open the booking platform, enter your stations and the date, and search. A list of trains appears with their classes and fares. You pick an overnight train arriving mid-morning, choose AC 3-Tier for comfort and security, and select a lower-berth preference for easy access.
You enter your name, age and gender, add your phone number, and pay by UPI. Within seconds a confirmation arrives by SMS and email with your coach and berth. Two days before travel you check the status to confirm everything is in order, and on the morning itself you check the live running status before leaving. That is the entire process daunting in the abstract, simple in practice, and quickly second nature after a trip or two.
Frequently asked questions
How do I book my first train ticket in India? Use the official IRCTC ticket booking platform: enter your stations and date, choose a class and train, fill in passenger details, select a berth preference, and pay. You will receive confirmation by SMS and email.
What ID do I need to travel by train? You must carry a valid government photo ID, such as an Aadhaar card, passport or driving licence. The ticket examiner may check it on board, so keep the original handy throughout the journey.
Which class is best for a first-time traveller? For a first overnight trip, AC 3-Tier offers a comfortable, secure balance of price and comfort. For a short daytime journey, Chair Car or Second Sitting is a cheaper and perfectly comfortable choice.
How early can I book a train ticket in India? The advance reservation window opens 60 days before the journey, excluding the travel date. For popular trains and festival periods, booking as early as possible greatly improves your chance of a confirmed berth.
Do I need to print my train ticket? For an e-ticket booked online, a digital copy on your phone together with a valid photo ID is generally accepted on board. It is still wise to keep a printed backup and a screenshot, in case your phone battery dies or the network is weak at the station.